Hanging pictures: 5 tips from a professional
It’s the final step after the move – the furniture is in place, the clothes have been put away, but to give the apartment a certain charm, pictures need to be hung on the wall. However, to ensure that they have the right effect, they should also be hung correctly. We asked the renowned Viennese gallery “Krobath” what needs to be considered here.
1. Before you hang up your pictures, think about your artwork
Even before you start worrying about the exact hanging or lighting, you should consider the work of art itself. In addition to form, format and color, the material used sometimes also makes its own demands on the hanging location – works on paper, for example, react sensitively to temperature fluctuations and air that is too humid or too dry. Your picture hangs correctly when the artwork and the room form a kind of symbiosis.
2. Consider the characteristics of the room
Finding the perfect place for a work of art is not always easy and sometimes takes several attempts, as a picture can have different effects in different environments. Ceiling height, proportions, windows and doors can play a role in the hanging as well as the arrangement of furniture and sockets or the incidence of light during the day.
3. Finding the right height for your artwork
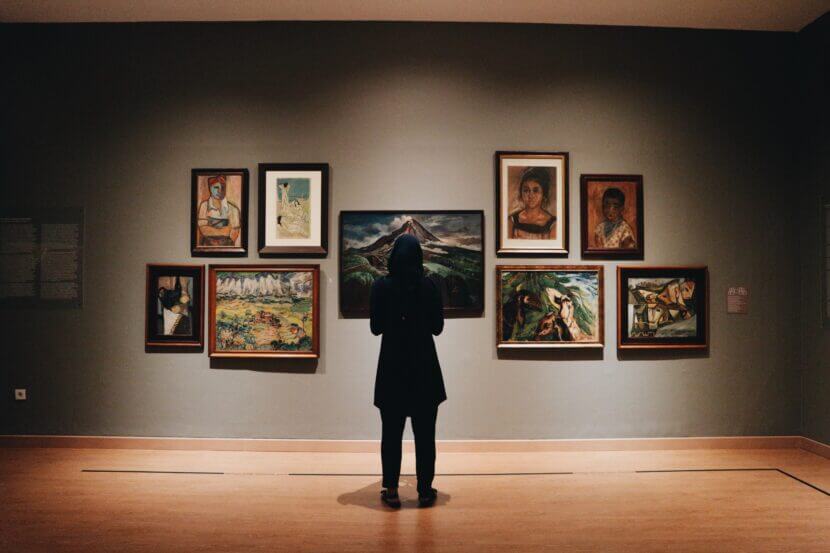
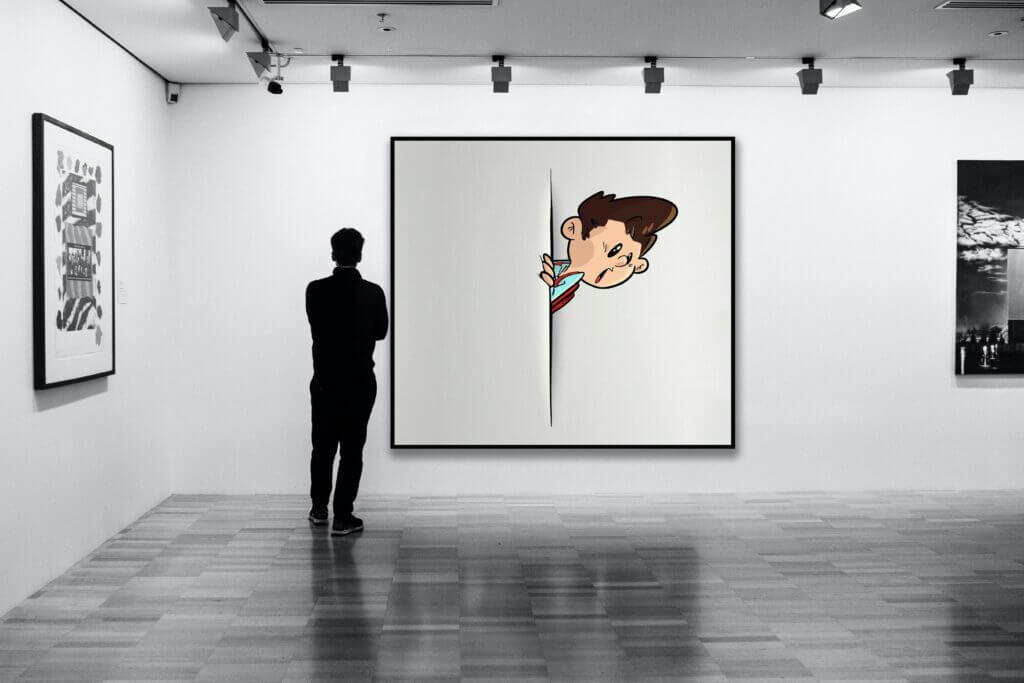
In galleries and museums, paintings and graphics are often placed 1.45 meters above the floor – measured from the center of the picture. This height corresponds to the average height of the human eye and is therefore usually used for orientation. If you want to make the picture stand out even more, you can also place it slightly above eye level. Of course, there are always exceptions (e.g. pictures above a piece of furniture or chandeliers in a room), so it is advisable to either stop the work to test it before hammering a nail into the wall or to cut out a cardboard box with the appropriate dimensions. You then hang it on the wall, take a few steps back and let the “picture” take effect on you.
4. Before hanging pictures, plan the right hanging arrangement
There are various ways of hanging a picture. A basic distinction can be made between individual hanging and group hanging, whereby group hanging can be subdivided into further variants. It is important to note that the correct hanging is a subjective matter – there is no right or wrong here. However, you can ask yourself the question: Should my artworks be organized according to aesthetics or according to their content?
- Isolated hanging: As the name suggests, the work is hung in isolation. This type gives your image maximum focus.
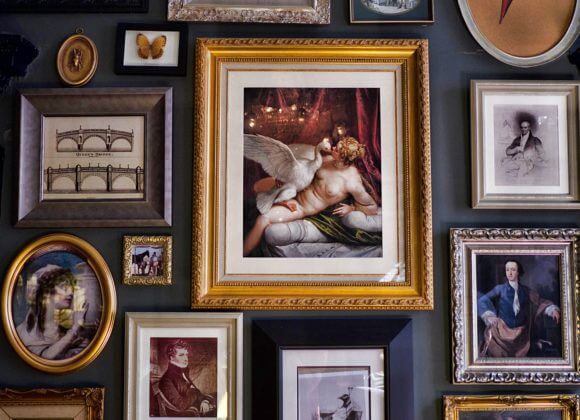
- Petersburg hanging/salon hanging: This is a group hanging that is particularly suitable for a large number of works of art. This variant owes its name to the opulent hanging of pictures in the St. Petersburg Hermitage. At first glance, it appears to be a random and chaotic arrangement of images, but there is usually a common thread behind it. The challenge here is to find the right combination. Important: Pay attention to the spacing between the works and do not place them too close together.
- Row or grid hanging: This type of hanging is particularly suitable for works of art with demanding content that need to be structured. However, it is also suitable for multi-part pictures and series. Here, images of the same format are arranged in a strict row, forming a series or grid. The focus here is on order and structure.
- Edge hanging: The upper and lower edges of several works of art are aligned along a line. In contrast to grid hanging, formats and sizes play a subordinate role here and thus appear somewhat freer and more playful.
5. Choose the right mounting for your pictures
Before you randomly drill holes in the wall and turn it into Swiss cheese, you should “get to know” the wall better. Are there electricity or water pipes behind the wall? What material is it made of? Is she really wearing my picture? Walls can often become porous, especially in old buildings, so that simple nails have little grip. Taking into account the format and weight of the picture as well as the special features of the wall, you can further narrow down the choice of mounting options. For small and light pictures, a simple nail is sufficient, whereas for heavier, load-bearing or porous walls, a dowel (size 6-8) and drill are required. Screws or suspension hooks can then be used.
Tip: Always pre-drill with a smaller drill bit (e.g. size 3) and then re-drill with a larger one (e.g. size 6 or 8). And it is better to make the hole deeper than too high – if the height does not fit, the picture will cover the pre-drilled hole.
Related posts:


