DIY basics that everyone should know
“It’s up to the woman! It’s up to the man!” as the saying goes. It is not always necessary to call the property management company for common DIY tasks. With just a few simple steps, you can do the whole thing yourself. We’ll show you how and have put together a list of five DIY basics that everyone should be able to do!
Change light bulb
To begin with, of course, the bulb that is no longer lit must be removed. You should therefore ensure in advance that the power supply is switched off. This means either switching the switches in the fuse box to “Off” or unplugging the lamp. If the light bulb has been burning recently, let it cool down first. You should also always make sure that you climb onto a stable chair or ideally a ladder when the lamp is on the ceiling.
Now everything is ready to remove the light bulb from the socket. Of course, it always depends on the type of lamp how easy it is to reach the bulb. The most common socket for a light bulb is the screw socket, so you simply need to unscrew it counter-clockwise until it comes completely loose from the socket. Screw in the new light bulb clockwise, then switch the power back on to check that everything has worked.
Attention: Not every light bulb fits into every lamp. Take a look at the old light bulb and, if necessary, take it with you to the store when you buy a new one.
Venting the heating
If your radiators remain cold after switching on, you hear a “gurgling” noise or the radiators have been replaced, they should be vented. It is generally recommended that radiators are routinely vented before the heating season. You only need three things to bleed the heating system: a heater bleed wrench (available at any DIY store for little money), a cup (for example an empty yoghurt pot to catch any escaping heating water) and a cloth (in case something drips). First switch off the circulation pump and then turn off the radiator. Then hold a container under the bleed valve before opening the valve with the bleed key. Now let the air escape completely. As soon as heating water escapes, the radiator is ready to be vented.
Hang up pictures
Embellishing the walls – whether with a photo frame, a painting, a clock or other wall decoration – sounds simple. It is, but there are still a few things to consider before you knock a hole in the wall.
For example, you should think about whether you need to use nails or even drill. There are different nails for different walls, but short steel nails of four to five centimeters are generally suitable for any wall. The heavier the picture, the bigger the nail. The nature of the wall is also important when selecting the nail. If the wall is porous, for example, a nail is not advisable and a screw is more suitable.
If the picture weighs less than 10 kg, you can hang it up with nails or screws. For pictures that are heavier, you should use a dowel.
You should also select the drill bit itself based on the wall. For softer walls made of sandstone or brick, for example, a cordless or impact drill is sufficient. It is important that the dowel, drill bit and screw fit together. You will find the sizes on the respective packaging. To ensure that the dowel holds securely, we recommend that you always vacuum the drilling dust out of the drill hole.
The very first step for DIY enthusiasts is to think about where and at what height the picture should be hung. Depending on whether you have one or two holes, it is best to mark the places where you want to hammer in the nail with a pencil. A spirit level can be very helpful, especially with paintings, to check whether the picture will hang straight using the markings.
If you use a nail, you should drive it into the wall with a hammer at a 45-degree angle (with the head at an angle to the ceiling). When drilling, the screw must be screwed straight into the dowel. First mark the spot, then drill in and vacuum the dust out of the hole. The dowel can then be pressed in. Screw in the screw until you feel a slight resistance. The dowel then expands and anchors itself in the wall.
Painting walls made easy
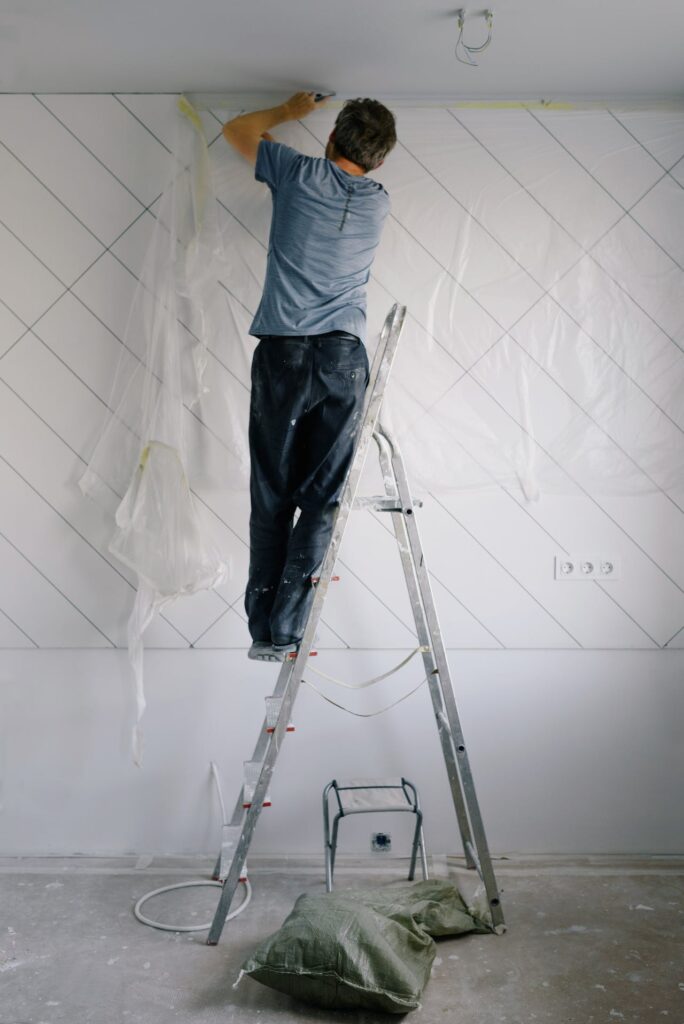
Need a new coat of paint? Painting your own walls properly also requires skill. Here, too, preparation is everything for DIY enthusiasts: clean the surface and carefully mask off the floor, window frames, skirting boards and the like. If possible, empty the room completely before painting or stack any remaining objects in the middle of the room so that they can be well covered with foil. Remove lamps, nails or screws.

The right basic equipment for painting consists of:
- Bucket or paint tray
- Scraper grid
- Paint roller
- Corner brush
- Masking tape
- Cover film (optional)
Important: Paint the ceiling first, then the walls! And always work with the light coming in from the window. First carefully paint the edges, corners and hard-to-reach areas with a brush or small roller, then apply a full coat with a large roller (on the telescopic handle).
Further tips:
- Long-pile rollers are more suitable for low-viscosity paints. They absorb more of it and are therefore more suitable for coarse-pored walls, such as roughcast.
- Pasty and solid colors are easier to process with short-pile rolls. They are usually smaller and therefore easier to hold.
- The entire ceiling and individual wall surfaces should be painted in one go. So avoid breaks as much as possible. Otherwise, some of the roots may be visible later. So always work “wet on wet” and roll the roller along the scraper grid until nothing drips.
- To achieve as even a surface as possible, we advise you to take sections of wall measuring around 1m2 and fill them with “M” or “W” movements and then apply the fine coat from top to bottom.
Drain blocked
If the drain in the sink, bath or shower is blocked by hair, a DIY enthusiast can use a cleaning spiral. This consists of a sturdy wire with a spiral at the end – wound up on a crank. This is ideal for particularly stubborn blockages and is the solution when household remedies such as baking soda or a plunger no longer help.
First insert the wire into the drain and start turning the crank if there is resistance in order to grip the dirt plug. Then twist the wire back on to pull the dirt out of the drain. Rinse with plenty of water, using a water hose if the sink has a horizontal drain.
Related posts:


